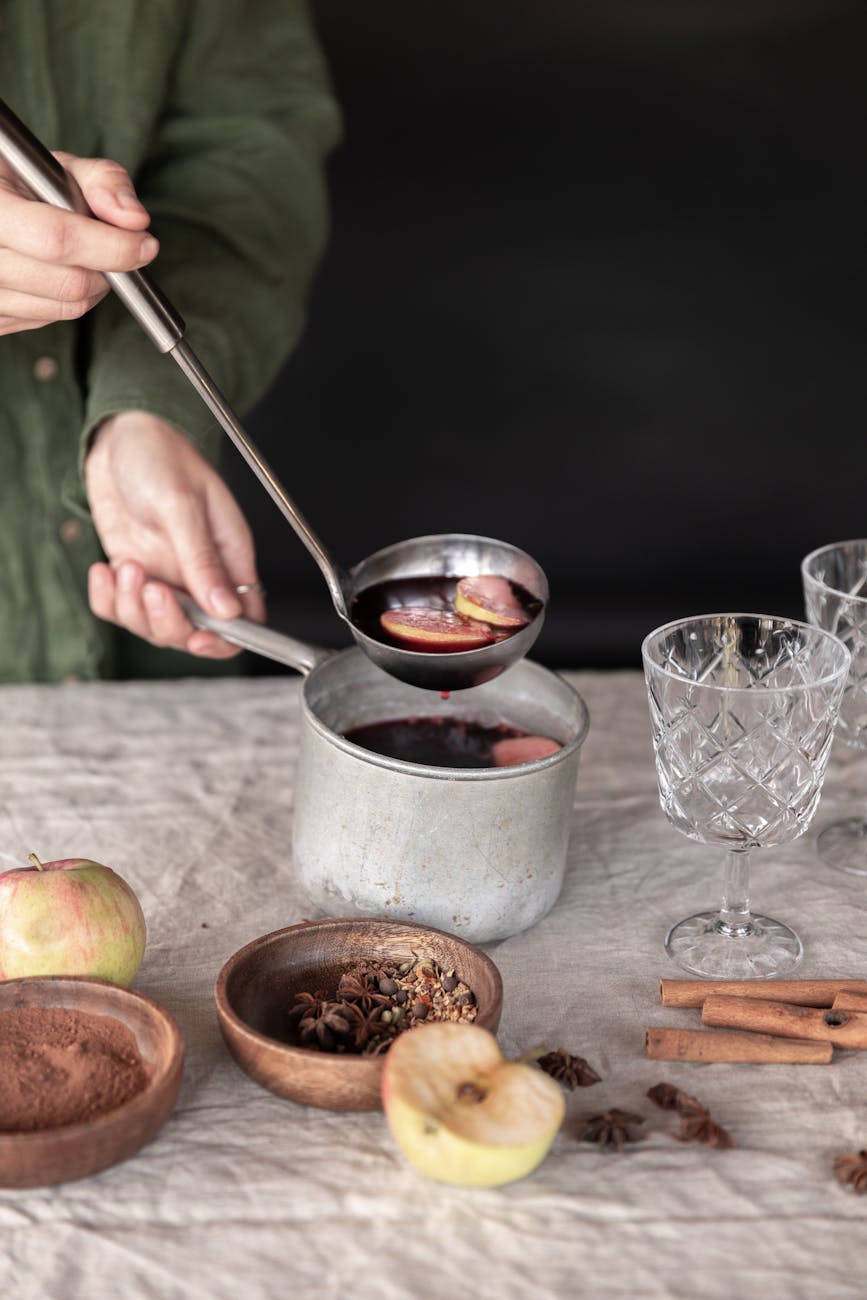
This simple and easy homemade apple cider recipe is a great way to use your apple skins and scraps. Create a delicious and flavorful warm drink for a cozy day at home.

If you are looking for a warm and cozy drink that everyone in the house will love; look no further!
This hot homemade apple cider makes me happy for a few reasons. First, it tastes so fresh because of the fresh ingredients. It also helps with a lot of the waste that comes when you have peel a lot of fresh apples for other recipes. This is also a wonderful comfort food (comfort drink?) during the cold months of fall and winter. Lastly, it is so simple and easy to put together. I managed to throw this together with all my leftover apple skins and scraps from a large apple pie making project I was working on.

Fresh Ingredients
Apples and Apple Skins
I use 6 lbs of Gala apples (and/or scraps) for this homemade apple cider recipe but you can use pretty much any kind of apple.
Here is a list of good apple options:
- McIntosh
- Golden and Red Delicious
- Goldrush
- Honeycrisp
- Cortland
- Idared
- Jonagold
- Granny Smith
- Gala
- Fuji
If you are starting with whole apples (not just scraps), you do not need to peel them but you should slice them into at least 8 slices per apple. I find it so much easier to just use an apple peeler and corer. Do not add the stem or seeds.
Orange
Cut the orange in half. You want these to be large enough that you can take them out before you mash your ingredients. Otherwise you will end up with some orange pulp in your homemade apple cider.

Cinnamon Sticks
4 cinnamon sticks is recommended. But, if you really like the taste and want to spice your apple cider more; you can add up to 8.
Whole Cloves
I wouldn’t recommend using ground cloves for this recipe because you want to be able to remove the whole cloves before serving. The clove taste will be too overwhelming if you use a powdered version.
Allspice
I believe that this is the secret ingredient that gives this recipe such a wonderful taste. However, don’t overdo it! Just one teaspoon is plenty!

Whole Nutmeg
If you don’t have whole nutmeg feel free to change this to 1/8 teaspoon of ground nutmeg.
Brown Sugar
This is an important part of the recipe. The brown sugar really gives it the rich caramel flavor that we all love in a homemade apple cider. I have tried maple syrup with some success if you prefer an all natural option. Just add small amounts at and time and test the taste as you add more. This way you will achieve the perfect amount of sweetness for you!

Water
Any water will do for this recipe. Be sure that there is about 2 inches of water above the apples and apple scraps before you start simmering the mixture.
How to Make Homemade Apple Cider: A Step by Step Written Guide
- Peel or chop apples until you have 6 lbs worth. Using an apple peeler/corer and a digital scale helps with this. It doesn’t matter if your mixture is all skins and scraps or all juicy apples. Just add what you have!
- Place the apples and scraps into a large stock pot or dutch oven.
- Add one orange cute in half. Any orange will work.
- Add cinnamon sticks, cloves, allspice, nutmeg and brown sugar.
- Add water until it covers the apples by 2 inches.
- Bring the whole thing to a boil and then turn it down to a simmer.
- Cover the pot with a lid and let it simmer for 2 hours.
- After 2 hours, remove the orange halves and mash the remaining ingredients up.
- Cover again with a lid and allow to simmer for 1 hour.
- Strain the remaining apple cider with a strainer to get all the bits out.
- Enjoy the freshest and easiest homemade apple cider!
TIP: I store this in glass mason jars and keep in the fridge after making it. Allow to completely cool before storing.

Storage and Reheating Apple Cider
- You can keep this homemade apple cider in an air tight container for 7-10 days in the fridge.
- You can freeze it for 6 months. Just remember to leave 1-2 inches of head space in your jars when you freeze.
- To reheat the apple cider, allow to thaw (if frozen) and then transfer into a pot on the stove. Warm the cider on low to medium heat, stirring occasionally until desired temperature.
I am a participant in the Amazon Services LLC Associates Program, an affiliate advertising program designed to provide a means for us to earn advertising fees by linking to Amazon.com and affiliated websites. This means that I will earn a small amount of money if you purchase through the links on my website at no additional cost to you

Easy Homemade Apple Cider (From Whole Apples or Apple Scraps)
This fresh and easy homemade apple cider is a delicious way to cozy up this fall and winter. This hot drink will quickly become a family tradition when the weather gets cold outside.
Yield: 16 servings
Prep Time:
20 Minutes
Cook Time:
3 Hours
Total Time:
3 Hours 20 Mins
Ingredients
- 6 lbs apples (I use Gala)
- 1 orange halved
- 4 cinnamon sticks
- 1 tsp whole cloves
- 1 tsp whole allspice
- 1 whole nutmeg ( or 1/8 tsp ground nutmeg)
- 1/2 c packed dark brown sugar
Directions
- Peel or chop apples until you have 6 lbs worth. Using an apple peeler/corer and a digital scale helps with this. It doesn’t matter if your mixture is all skins and scraps or all juicy apples. Just add what you have!
- Place the apples and scraps into a large stock pot or dutch oven.
- Add one orange cute in half. Any orange will work.
- Add cinnamon sticks, cloves, allspice, nutmeg and brown sugar.
- Add water until it covers the apples by 2 inches.
- Bring the whole thing to a boil and then turn it down to a simmer.
- Cover the pot with a lid and let it simmer for 2 hours.
- After 2 hours, remove the orange halves and mash the remaining ingredients up.
- Cover again with a lid and allow to simmer for 1 hour.
- Strain the remaining apple cider with a strainer to get all the bits out.
- Enjoy the freshest and easiest homemade apple cider!
Like this recipe? Share it with others!

Thank you so much for taking the time to try this recipe. Please leave a comment and let me know how your apple cider turned out. I would also love to know if you came up with any tips and tricks to make it even better!
Leave a Reply